
Last updated November 22, 2026
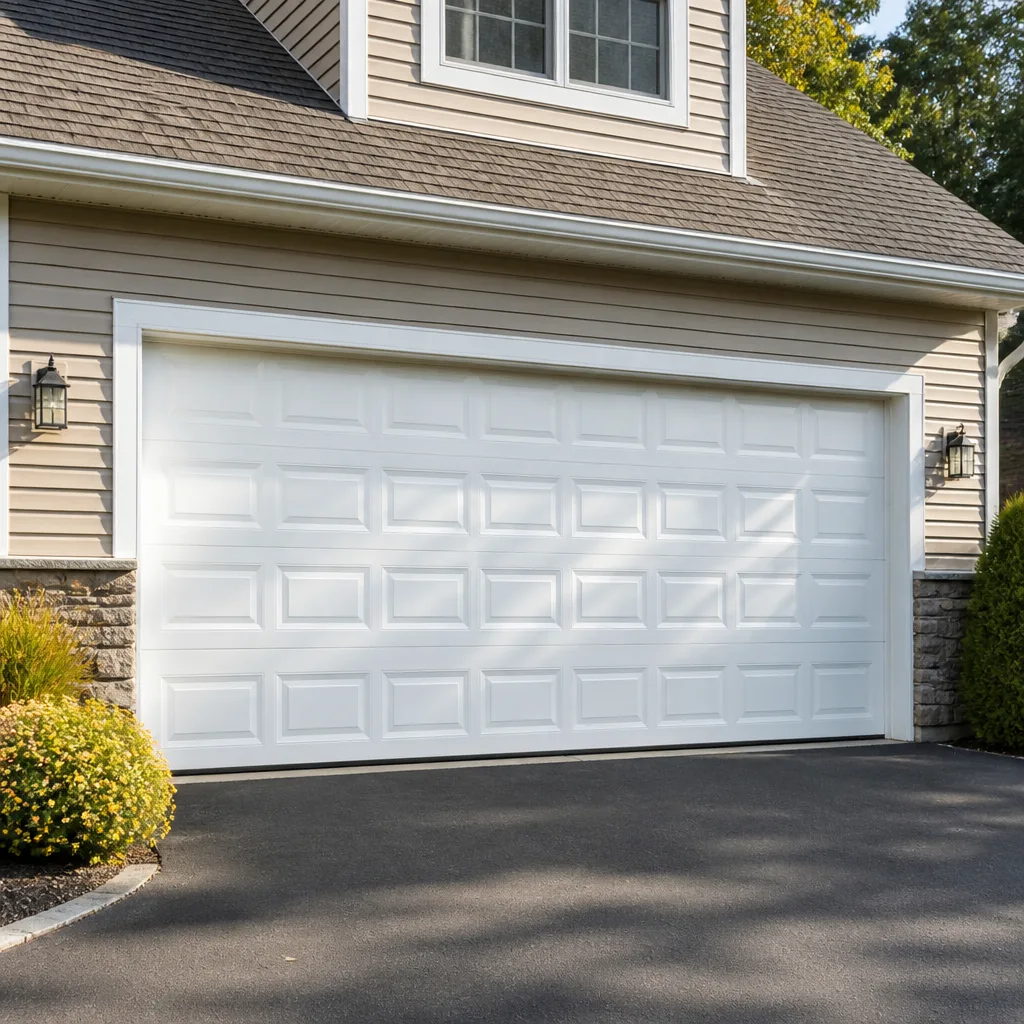 Raised-panel steel
 Carriage house
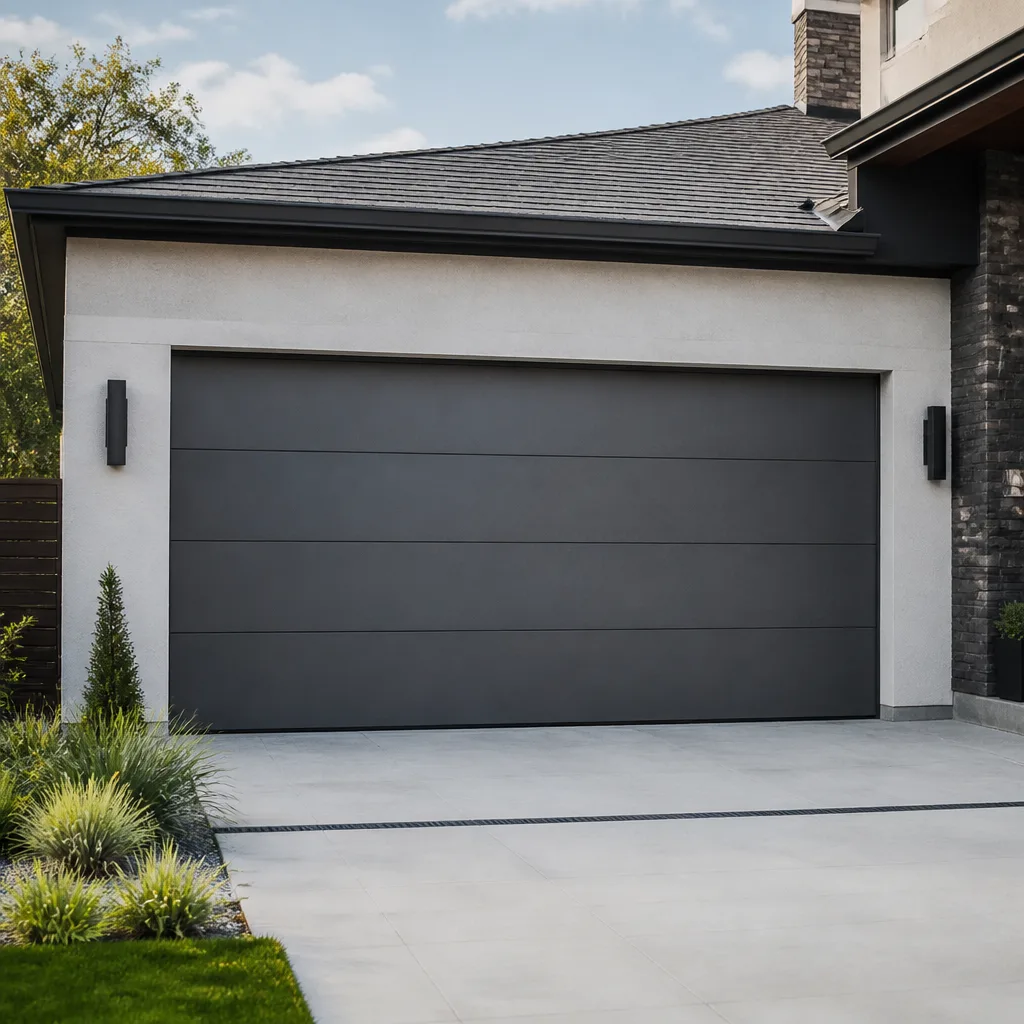 Modern flush
 Full-view glass
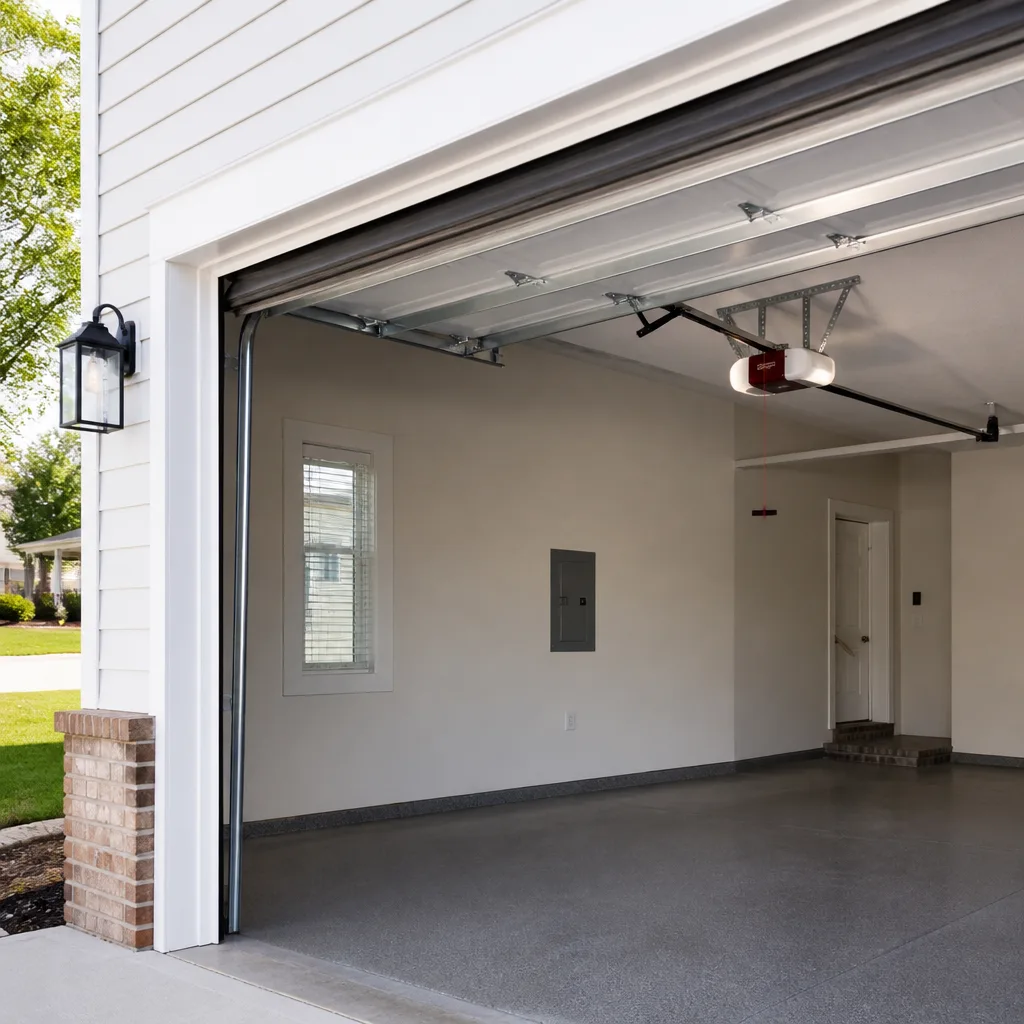 LiftMaster openers
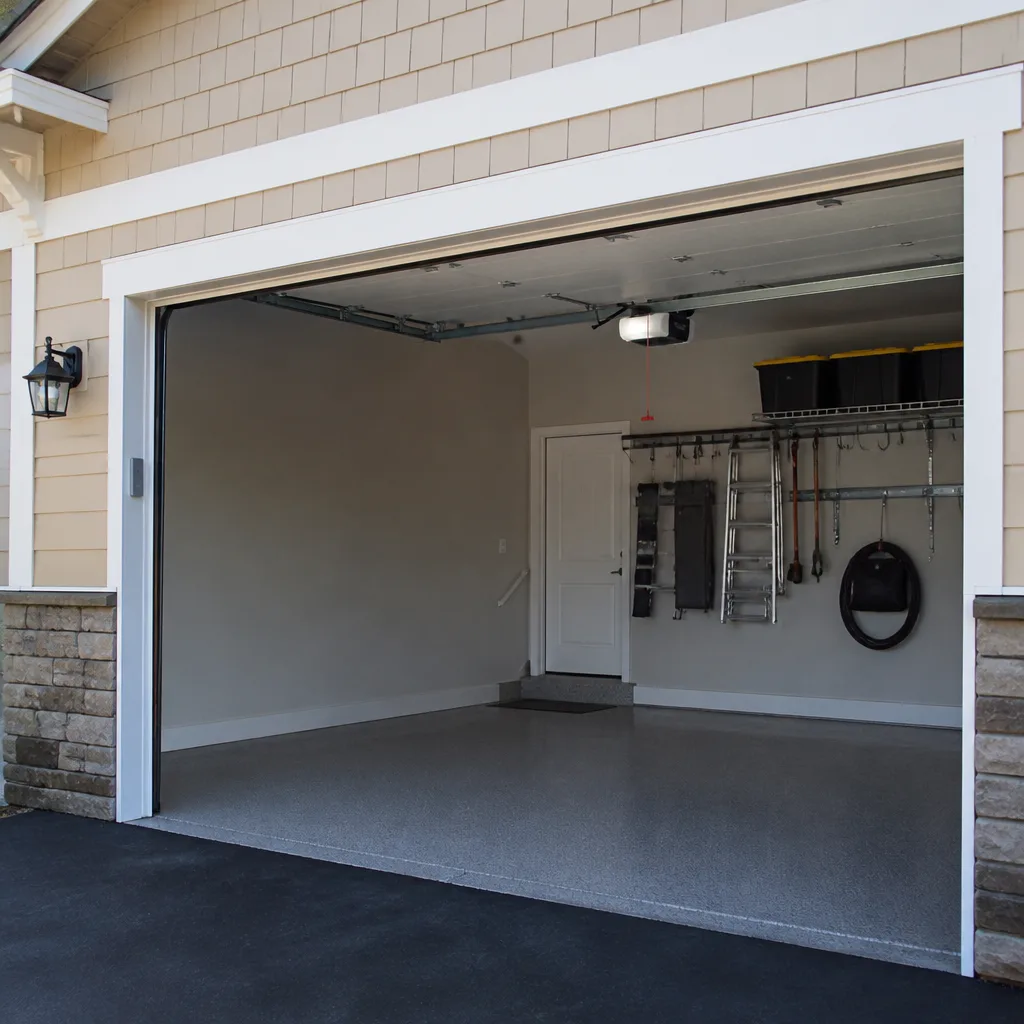 Chamberlain openers
Full 25-point door and opener safety check with every visit - springs, cables, rollers, tracks, and your LiftMaster or Chamberlain opener included
You get a price before we start. It does not change when the pro arrives.
Get your free estimateGarage Door Repair Maintenance Checklist for Brick Township Homeowners
The number one cause of avoidable garage door failures in coastal New Jersey isn’t neglect. It’s homeowners performing the wrong maintenance tasks on the wrong schedule because they followed advice written for landlocked climates. A checklist built for Kansas or Arizona misses what actually happens to steel, springs, and fasteners in Ocean County air. So we wrote the version that fits here. In this guide you’ll get a month-by-month calendar calibrated to Brick Township’s seasonal transitions, a spring inspection routine that spots corrosion pitting before it becomes a snapped coil, the correct lubrication protocol for our humidity, and the one 30-second opener test that catches a motor working too hard. Every task tells you what failure looks like before it costs you an emergency call.
Quick Answer
A sound garage door maintenance routine in Brick Township runs on four cycles a year: a visual hardware and spring inspection each season, lubrication every two to three months with a humidity-appropriate product, a balance and force-sensitivity test monthly, and a full hardware torque check before winter. The tasks that matter most in this climate are spring corrosion inspection, panel seam checks for oxidation, and keeping moving parts lubricated against damp air.
Most of it takes fifteen minutes. The rest is knowing what you’re looking at. Call (877) 792-6059. We answer 24/7. Fast dispatch from 7am to 7pm, Sunday through Friday.
Styles & brands we work with
- Raised-panel steel
- Carriage house
- Modern flush
- Full-view glass
- LiftMaster openers
- Chamberlain openers
Table of Contents
- Why a Brick Township Maintenance Checklist Looks Different
- The Month-by-Month Maintenance Calendar
- How to Inspect Torsion Springs for Corrosion Pitting
- The Correct Lubrication Protocol for Ocean County Humidity
- Panel Seam Inspection for Hidden Oxidation
- The 30-Second Opener Force-Sensitivity Test
- Hardware, Track, and Roller Checks
- Common Mistakes to Avoid
- When to Call a Professional
- Frequently Asked Questions
Why a Brick Township Maintenance Checklist Looks Different
Generic maintenance advice assumes a dry climate with gentle seasons. Brick Township runs the opposite script: humid summers that push moisture into every metal joint, a deep winter freeze that contracts and shifts hardware, and a spring thaw that wrings condensation out of everything. That rhythm changes what breaks and when.
The moving parts of a garage door live in the toughest environment in the house. The door faces a drafty, unheated, often humid space. Steel fasteners see temperature swings from a July afternoon to a January night. Springs, the most stressed component on the whole system, sit as coiled steel under constant tension, and moisture works its way into the gaps between the coils. That’s where corrosion starts.
Here’s what we look for that a landlocked checklist skips:
- Condensation cycling. Humid summer air meets cooler interior surfaces, and condensation forms on cold steel. It dries. It forms again. Each cycle leaves a little mineral and oxygen residue behind.
- Freeze-thaw movement. Winter contractions loosen bolts that were tight in October. A door that banged quietly in fall can rattle by December.
- Humidity-driven friction. Weatherstripping and hinges swell slightly in damp months, changing how much force the door needs to move.
- Interior panel oxidation. The inside of a steel door is where slow rust gets its start, and it’s the side nobody inspects.
Brick Township homes sit between the barrier island towns and the inland pine woods, and the difference in how fast hardware ages between, say, a home near the Metedeconk River and one off Route 70 is real. Damp air does more damage than dry air. That’s the single fact that should drive your maintenance schedule.
We work on the brand you already own, whether that’s a LiftMaster opener or a Chamberlain unit. Our technicians have up to 8 years of experience with the systems installed across Brick Township, and the seasonal patterns here are the ones they plan around.
The Month-by-Month Maintenance Calendar
Spring and fall aren’t the only transition points that matter here. The two weeks around the first hard freeze and the first warm humid stretch are when the most damage happens. This calendar follows Brick Township’s actual seasonal turns.
- March – post-winter shakeout. Cold months loosen fasteners. Walk the door, tighten hinge bolts, check roller stems, and listen for new rattles. This is also when thaw moisture is at its worst.
- April – spring corrosion inspection. Pull out the flashlight and look at the torsion springs and the cable drums (see the spring section below). Early pitting is common after a damp winter.
- May – humidity lubrication. Before the air turns thick, apply the correct lubricant to hinges, rollers, tracks, and the spring coil gaps. Damp months demand a water-resistant product, not thin oil.
- June – balance and force test. The door should lift and lower smoothly and settle evenly. Any change in how it sounds is your first clue.
- July – panel seam inspection. Peak humidity is when interior oxidation shows itself along panel seams. Look from inside the garage, not the driveway.
- August – weatherstripping check. Bottom seals and side trim take a beating in warm months. Cracked seals let in moisture that reaches the hardware.
- September – pre-winter lubrication. Reapply lubricant before the cold sets in, when greases stiffen and move less freely.
- October – full hardware torque check. This is the pre-freeze pass that prevents winter rattles. Tighten bolts, check brackets, and confirm the door is balanced.
- November – latch and lock check. Cold metal contracts. Confirm the manual lock and any keyed handle still move freely.
- December through February – monthly visual. Do a quick look and listen each month. Anything that changed during the freeze gets logged for March.
You don’t need every task done at once. The calendar spaces the heavy ones across the year so each season gets one focused pass. Many Brick Township homeowners find the spring and fall passes catch almost everything on their own when the intervening months get a quick look.
How to Inspect Torsion Springs for Corrosion Pitting
Torsion springs are under high tension and can cause severe injury if handled. Inspect them with your eyes only, from a safe distance, and never touch, adjust, or try to release one yourself. A trained professional should handle any spring work.
Here’s the visual routine we use, and it’s one you can safely repeat:
- Look at the coil gaps. The minutes spaces between coils are where moisture settles. Small bright spots on dark steel are the first sign.
- Watch for dark pitting. Pitting looks like tiny craters or burnt-looking dots on the coil surface. When you see them, the steel has started to lose surface material, which weakens the whole coil.
- Check the end cones. The fittings at each end collect dust and damp air. Look for rust bleeding out from the fitting.
- Look for moisture streaks. Horizontal streaks on the coil mean condensation has been running down the spring.
- Listen for changed tension. A door that suddenly feels heavier or lifts unevenly may have a spring that’s losing strength.
Pitting is the warning you get before failure. It’s a matter of weeks of slow corrosion before a spring becomes a genuine risk of snapping, and a snap moves fast and loud. Once you see pitting, it’s time for a proper inspection by a technician. On a matched pair, both springs usually get replaced together, since a pair of equal age and equal wear tends to fail together, not separately.
Our technicians have up to 8 years of experience with spring replacement, and our garage door spring repair service treats this job with the caution it demands. Springs are the most dangerous part of your garage door, and we treat them that way. If you see pitting, don’t wait for the snap.
The Correct Lubrication Protocol for Ocean County Humidity
Lubrication in a humid climate isn’t just “apply lubricant.” It’s choosing the right product and applying it on a schedule that matches moisture exposure. The wrong product can attract grime and actually speed wear.
Here’s what to use and where:
- Use a garage-door-specific spray lubricant or standard white lithium grease (in spray form) on hinges, roller bearings (not the roller wheels themselves if they’re nylon), and bearing plates.
- Use white lithium grease on the torsion spring coils when you lubricate them, working it into the coil gaps with the spray. Do this in the warm months when humidity is highest.
- Use a silicone-based spray on weatherstripping and the bottom rubber seal, which dry and crack in both heat and cold.
- Avoid heavy oil on the tracks. Tracks need only a light silicone spray to lower friction. Excess oil collects grit and grime that wears rollers.
- Avoid WD-40 as a long-term lubricant. It works as a penetrant but not as a lasting lubricant and can wash out what’s there.
For Brick Township humidity, apply the full lubrication pass every two to three months in the warm season and once more before the holidays. Humidity levels here push at the top of that range. In the damp months, pay extra attention to the spring coils and the hinge pivots, the two spots where condensation sits longest.
If you’d rather not do this yourself, or your door needs adjusting at the same time, our garage door repair technicians handle it during a normal repair visit. We work on the brand you already own, so a Chamberlain or LiftMaster system gets the same careful treatment as anything else.
Panel Seam Inspection for Hidden Oxidation
Most people inspect their garage door from the driveway. That’s the wrong side. Interior panel oxidation starts on the inside, where moisture collects and nobody’s looking. By the time rust shows on the exterior paint, the corrosion has been working from within for a while.
Here’s how to check the seams:
- Stand inside the garage with a flashlight. Look at the joint where each steel panel meets the next.
- Follow the seams top to bottom. Oxidation shows up first at the bottom seam, where condensation and splash-back concentrate.
- Look for orange or brown staining along the folded edges. Even a thin line is a signal. Rust bleeding along a seam means moisture is trapped behind it.
- Check around any fasteners or lock hardware. Screws through steel panels are common rust starting points.
- Press gently with a knuckle near seams. Soft spots or bubbling under the paint mean the steel is thinning. Leave the door in place and don’t scrape.
Panel seams are where the protective coating is thinnest. That’s the physics of a folded edge, and it’s why interior oxidation in Brick Township shows up first along a seam. Catch it early and it’s cosmetic. Ignore it long enough and it becomes a structural problem, one that can eventually affect how the door holds its shape.
Raynor and Clopay doors, both common here, use different panel coatings and respond differently to damp air. When we inspect, we look at the specific make and its history with humidity, not just a generic panel. A free estimate will tell you exactly what condition your panels are in. Call (877) 792-6059. We answer 24/7. Fast dispatch from 7am to 7pm, Sunday through Friday.
The 30-Second Opener Force-Sensitivity Test
An overtaxed motor is behind a large share of garage door injuries, because a door forced past its balance point can drop or slam before the safety system reacts. The force-sensitivity test takes thirty seconds and catches a motor working too hard.
- Close the door and disengage the opener. Pull the release handle so the door is manual.
- Lift the door by hand. It should rise smoothly and stay open around waist-to-chest height on its own.
- Lower it by hand. It should descend evenly, without slamming, catching, or veering to one side.
- If it’s a struggle to lift or it drops fast, the door is out of balance. Don’t force it. Reengage the opener only when the door moves freely.
- Reengage and test the opener’s auto-reverse. With the door closing, place a solid object in its path. The door should stop and reverse on contact. If it doesn’t, stop using the opener and have it serviced.
Any drag in that manual test tells you the motor is working against more weight than it was set for. That’s a small thing to fix now and a bigger one later. If the door’s balance changed recently, our garage door opener repair service can reset it, and if the opener itself is the problem, a technician can diagnose that too.
For a new opener installation, this test stays on your monthly list. It’s the single cheapest check you can run to protect the safety features that matter most.
Hardware, Track, and Roller Checks
The fasteners and rollers on your door are the joints that hold it together. In this climate they’re also the parts that loosen and wear fastest. A quick hardware pass each month catches most of it.
- Hinges. Check each hinge for looseness and rust along the pin. Wobbly hinges are usually a torque problem, not a failure. Rust at the pin is a lubrication gap.
- Rollers. Look for flat spots on steel rollers and cracked or chipped nylon rollers. Worn rollers cause rattles and uneven travel. Replace any roller that wobbles on its stem.
- Bottom brackets. These hold the cables under tension. Don’t adjust them yourself, since the cable tension is dangerous. Note any rust or looseness and have it inspected.
- Tracks. Wipe them clean and check for dents or misalignment. A door that rubs a track will wear out its rollers fast. Never bend a track back by hand.
- Weatherstripping. Check the bottom seal for cracks. Worn seals let in moisture, drafts, and pests, and drive up heating costs in winter.
A standard set of wrenches and a screwdriver handles most of this. What you’re looking for is anything that moved since last month or looks like it’s starting to fail. A Craftsman or Wayne Dalton door from any installation era gets a pass with the same routine.
When the hardware is healthy, the whole door runs quiet. That’s the standard we build to. Built solid, done right.
Common Mistakes to Avoid
- Using thin oil on the springs. Thin oil runs off in warm weather and doesn’t stay where it’s needed. Use white lithium grease on the coils, and only when they’re not under adjustment.
- Skipping the interior panel inspection. Brick Township’s humidity attacks the inside of your door first. If you only look at the outside, you’ll miss oxidation until it’s structural.
- Over-tightening bolts. Tightening every bolt “for safety” can strip threads or crack brackets. Snug is correct. A bolt that keeps loosening needs a technician, not more torque.
- Adjusting the springs yourself. Torsion springs are under high tension and should only be worked on by a trained professional. This is the mistake with the worst consequences.
- Ignoring a change in how the door sounds. A new squeak or rattle is a symptom. Treating it with spray and moving on just delays the repair.
- Letting a humid summer pass without lubrication. Warm, damp air works on the moving parts all season. Skip it and you’ll notice the stiffness by fall.
- Using the opener to force a stuck door. If the door binds, shut off the opener and investigate. Repeatedly forcing a stuck door wears the motor and strains the springs.
See the difference
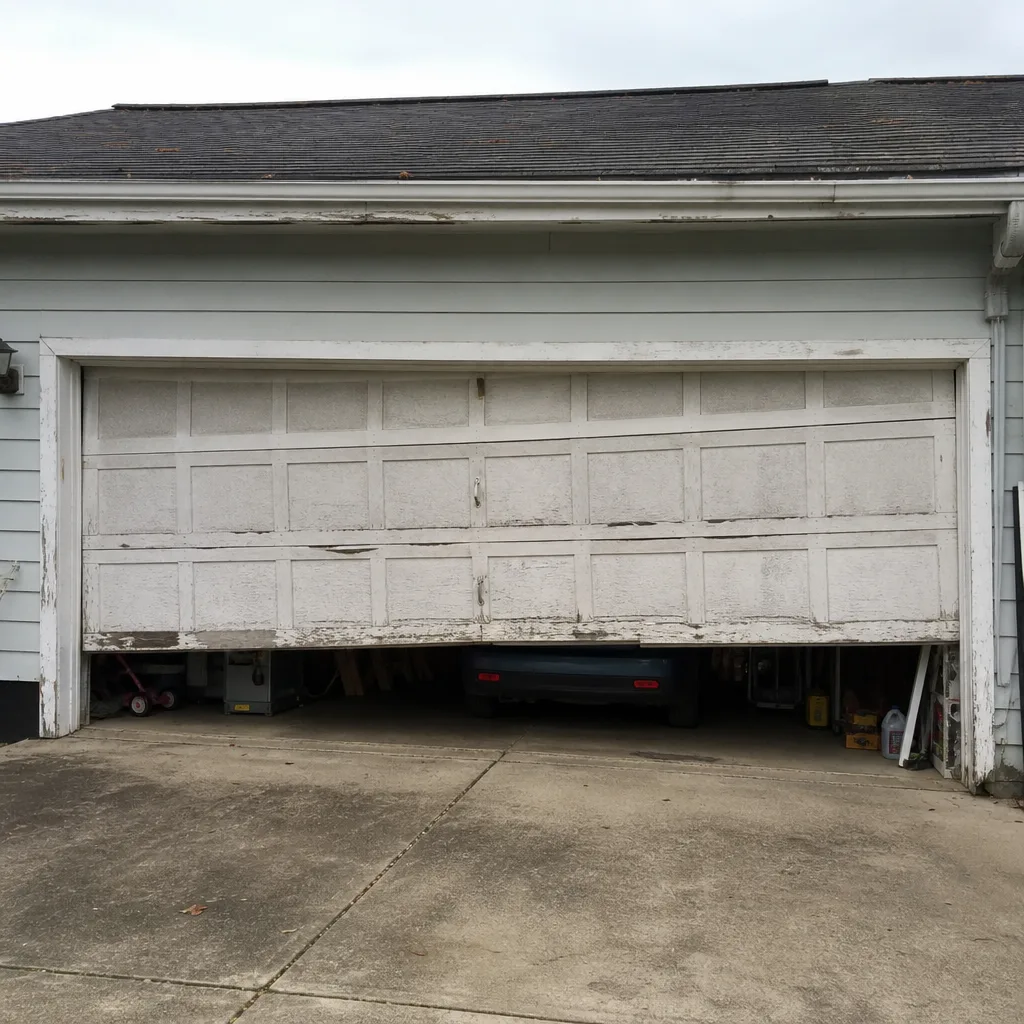 Before
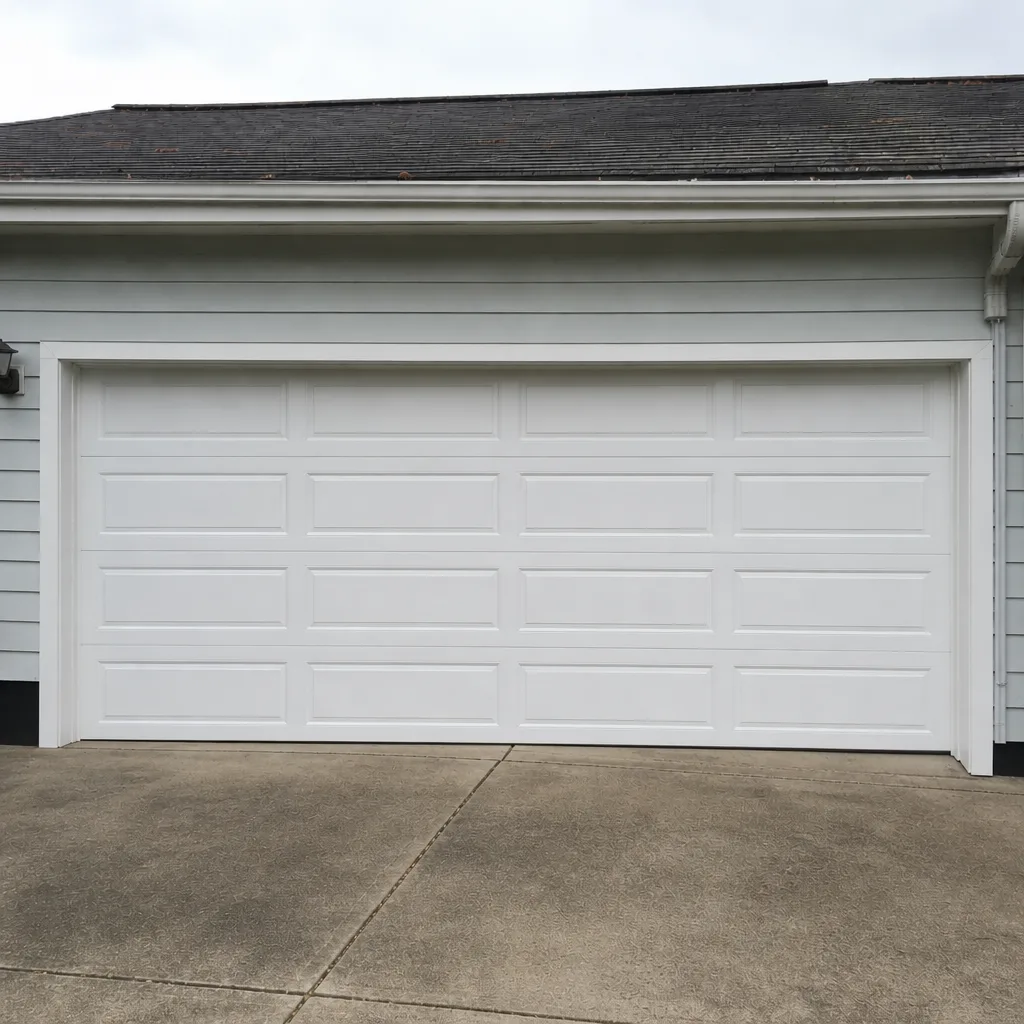 After
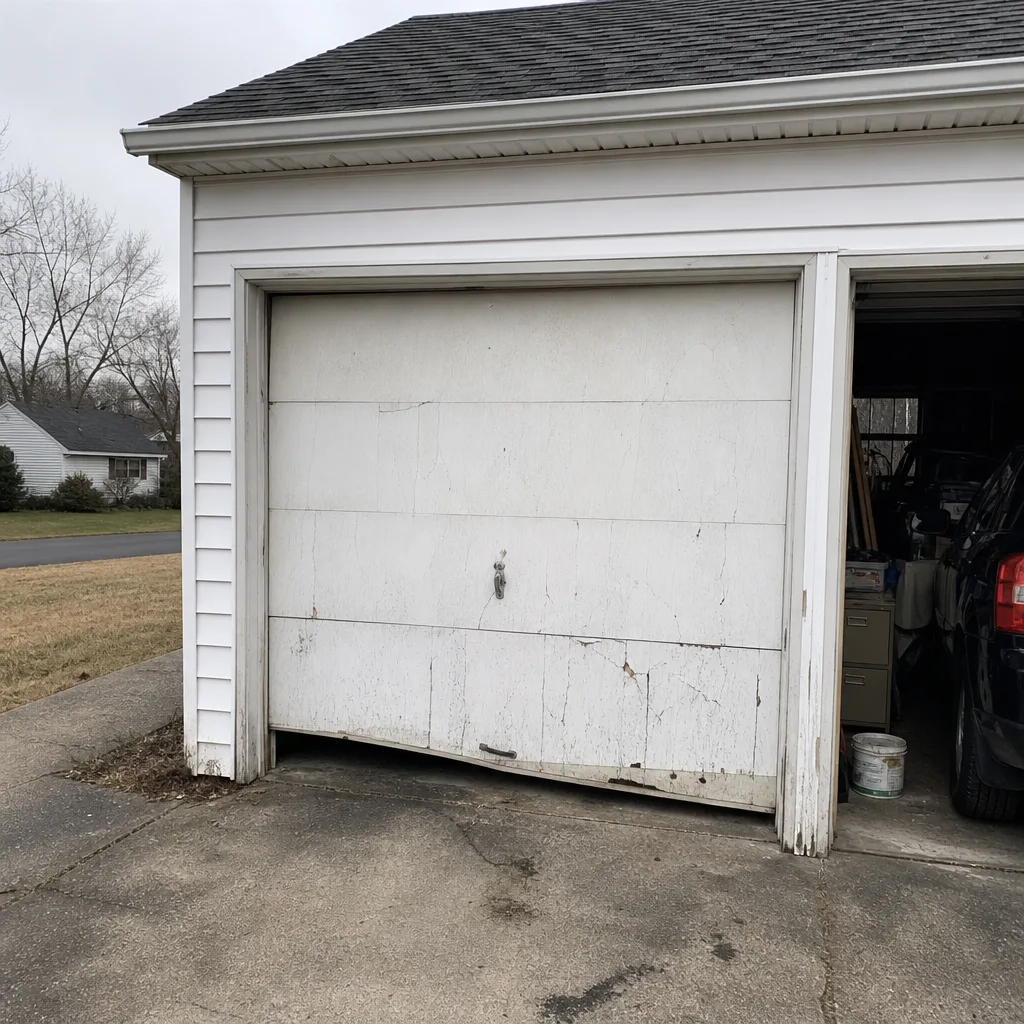 Before
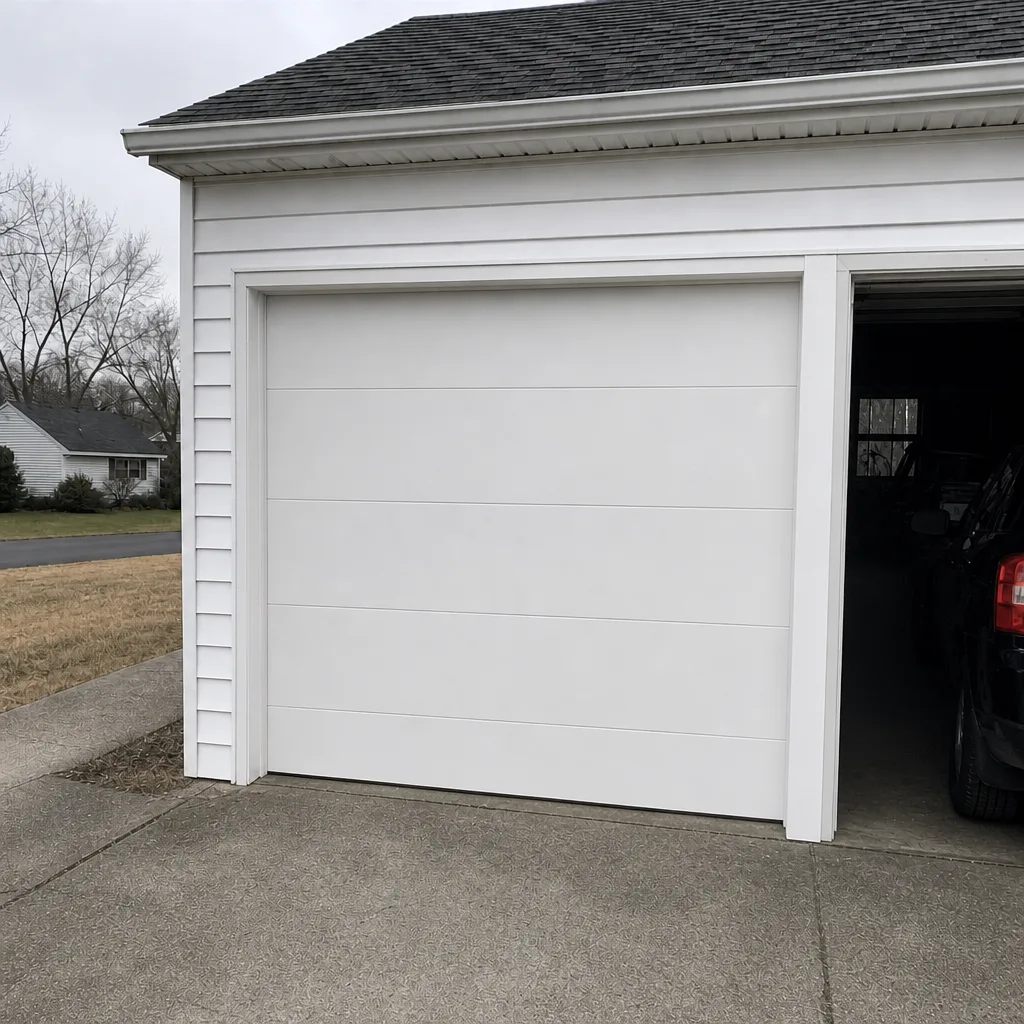 After
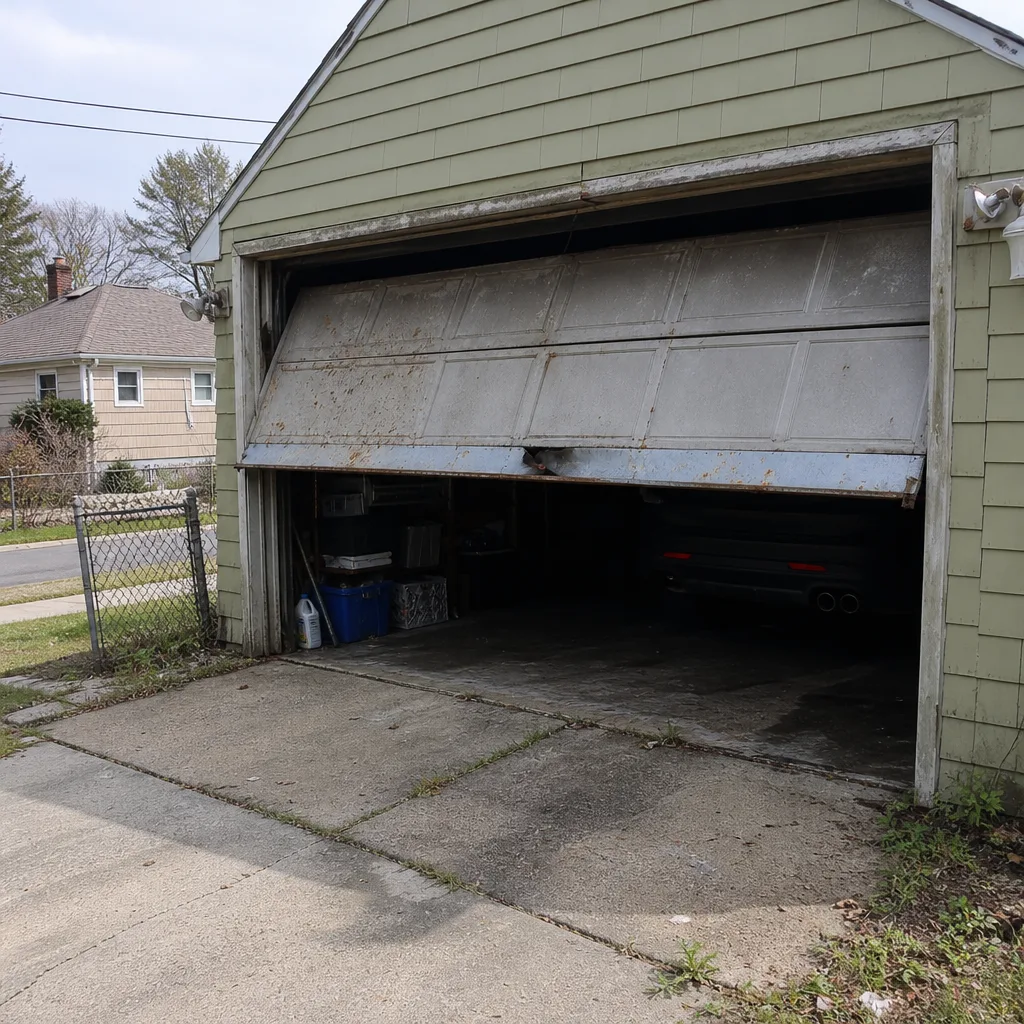 Before
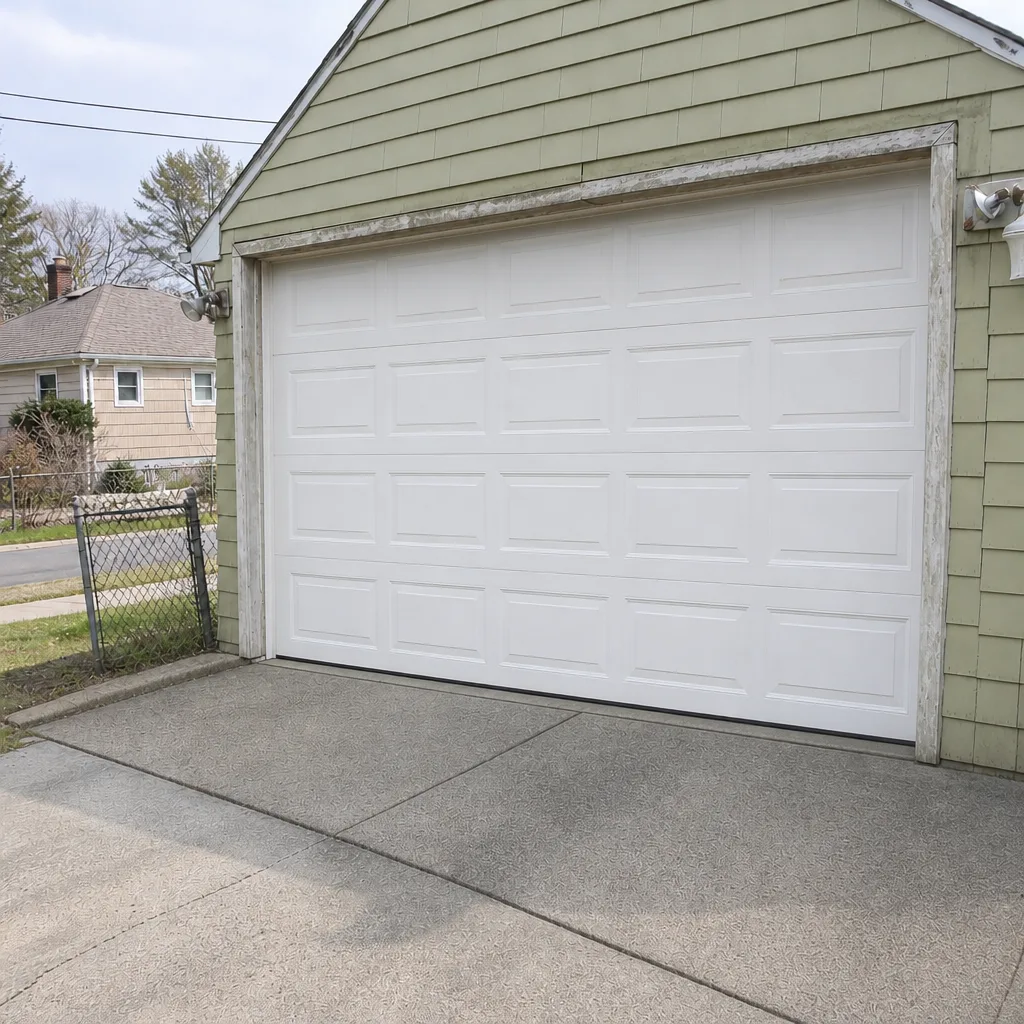 After
When to Call a Professional
Some maintenance is a homeowner task. Some isn’t, and knowing the line protects both your money and your safety. Call a professional when: a torsion spring shows pitting or looks rusty, the door doesn’t balance in the manual test, the opener fails the auto-reverse test, a panel seam shows bubbling or soft spots, a cable appears frayed or slack, or you’ve seen the same hardware loosen twice. Those five scenarios cover almost every failure we address, and each is a case where waiting turns a repair into a replacement.
Brick Garage Door Repair offers free estimates in Brick Township. Our technicians have up to 8 years of experience, and we can work with your insurer if a repair becomes a claim. One call covers it all, from a broken spring to a brand-new door. Call (877) 792-6059. We answer 24/7. Fast dispatch from 7am to 7pm, Sunday through Friday. We’re closed on Saturday, so a door that fails then gets booked into the next opening on Sunday.
Frequently Asked Questions
Every two to three months during the humid months and once more before the holidays. Brick Township’s damp summer air drives condensation on springs and hinges more than in a dry climate, so the high end of that range fits here. Call (877) 792-6059 for a maintenance visit, and estimates are free.
A corroded spring shows small bright spots in the coil gaps, dark pitting that looks like tiny craters, or rust bleeding out from the end cones. Pitting is the warning sign that replacement is weeks rather than months away. Have it inspected before it fails. Call (877) 792-6059 for a free estimate.
Yes. Disengage the opener, lift the door by hand to confirm it moves smoothly and stays open, then reengage and test that the door reverses on an object in its path. It takes about thirty seconds and doesn’t require tools. If the door fails either test, call (877) 792-6059 and we’ll inspect it at no charge.
Humidity collects inside the unheated garage and settles along the panel seams, where the protective coating is thinnest. Moisture works behind the folded edge and the corrosion spreads outward. Checking the interior seams monthly catches it while it’s cosmetic. Call (877) 792-6059 if you see bubbling or soft spots.
No. We quote the job and agree the price with you before any work starts, and the written estimate sets the final price. The range you hear on the phone is typically right for the work described. Call (877) 792-6059 for an exact quote. Estimates are free.
The local pros we connect you with are licensed and insured as their state requires, and they’re experienced with the systems installed across Brick Township. Our technicians have up to 8 years of experience, and we work on the brand you already own. Call (877) 792-6059 to book a free estimate.
For more on the full life of a door, from new installation to the day it fails, see Brick Garage Door Repair. If your opener is the worry rather than the door itself, our team handles that work too.
The Bottom Line
A maintenance checklist written for a landlocked climate will get you the wrong task on the wrong schedule, and in Brick Township that difference costs you. The rules that actually matter here: inspect springs for pitting after every damp winter, lubricate on a humidity schedule, look at panel seams from inside the garage, and run the thirty-second force test every month. Do those four things and you’ll catch most failures before they become emergencies. Everything else is the calendar keeping you honest. When a task looks like more than maintenance, call us.
Call Brick Garage Door Repair at (877) 792-6059 for a free estimate. We answer 24/7. Fast dispatch from 7am to 7pm, Sunday through Friday, closed Saturday. Built solid, done right.
Written by the team at Brick Garage Door Repair.